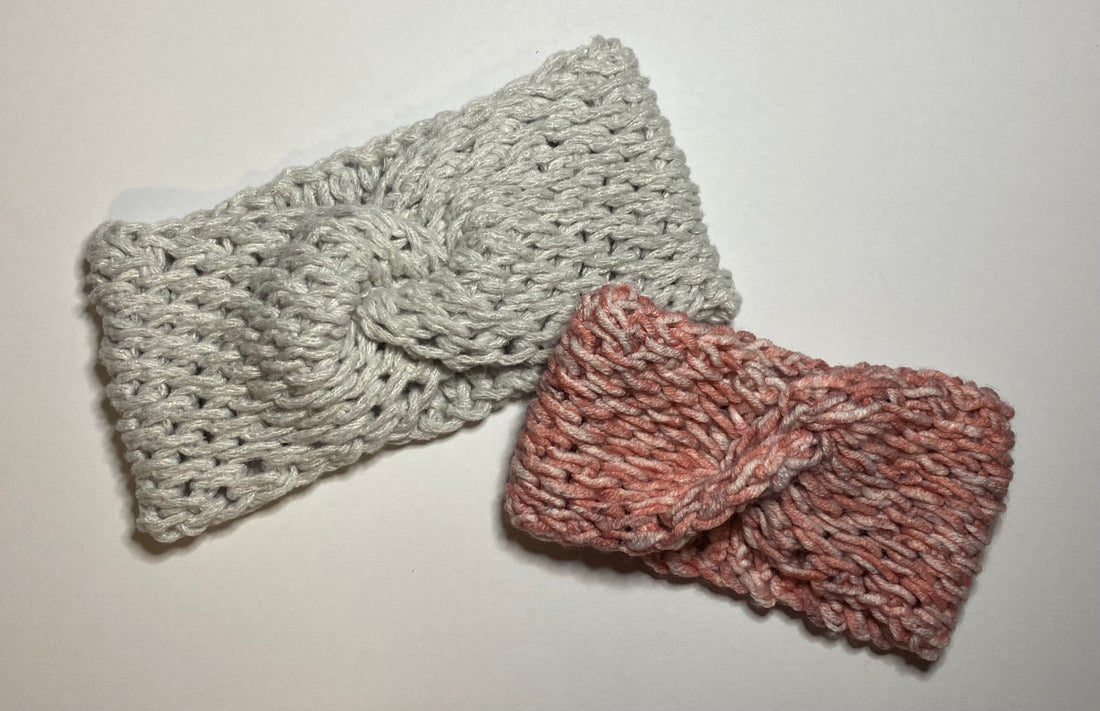
Omg! I am honestly so excited to share my first ever pattern! It just makes me feel so giddy. I chose to share this one first with all of you as it is a rather simple pattern and it's perfect for anyone wanting to learn tunisian crochet ;)
If you prefer to follow the video instructions, please check it out here:
https://youtu.be/zWAb6riOBOo
If you prefer to read the instructions, please read on!
** For the paid printable version of this pattern, please go to https://adiscraftsnthings.com/products/pattern-baby-tunisian-headband**
This cute little headband came together as part of set of baby items (keep an eye out for new patterns soon!). I wanted to create a pattern that was cute and had a modern flair, and simple enough for anyone just learning how to do tunisian crochet, yet enjoyable enough for someone with more practice.

Sizes
Preemie (newborn, 0-6 mo, 6-12 mo)
Finished Size
10 (11, 12, 14)” [25.4 (28, 30.5, 35.5) cm] in circumference.
Skill Level
Easy
Materials and tools
- Yarn medium 4 weight / aran / 10 ply / 8WPI (I used Lion Brand’s Mandala Ombre; colorway: felicity)
- Tunisian hook size 8 mm
- Scissors
- Yarn needle
Abbreviations
Ch – chain
FwP – forward pass
Rep – repeat
RetP – return pass
St(s) – stitch(es)
Ss – slip stitch
Tfs – Tunisian full stitch
Special Stitches
Return pass (RetP): yo and pull through one loop, *yo and pull through two loops; rep from * to beginning of row (1 loop left on hook)
End st: insert hook under the last vertical bar and the bar that lies directly behind it (2 bars on hook), yo and pull up a loop
Slip st (ss): insert hook into next st, yo and pull up a loop, pull this loop through the loop on hook
Modifications
Modifying this headband is quite simple as you can add or subtract any number of stitches to adjust the width of your headband. You can also adjust the length by adding more stitches. Just make sure to add 1.5 inches to 2 inches to the length for it to fit comfortably.
Pattern Notes
- This pattern has a two-row repeat, which staggers the stitches to prevent a slanted edge. The first row will start with you inserting your hook in between the first and second vertical bars and skipping the last two bars. Row 2 will start with you skipping the first two bars and working in between the last two. The loop on your hook at the beginning of the forward pass is your first stitch.
- Always work into the back bumps of chain stitches when doing your foundation forward pass.
- The last row will consist of slip stitches all the way through to the end of the row.
- The last stitch on a forward pass is always worked the same way and will be referred to as “work end st”. See special stitches for how to work this stitch.
Gauge
14 stitches x 13 rows = 10 cm x 10 cm (4 in x 4 in).
For your swatch, start with 18 ch, and work your foundation row. Following the instructions on the pattern, work the 2-row repeat pattern for the Tunisian full stitch for 17 rows.
Measure gauge internally.
Instructions
Foundation Row: ch 9 (9, 10, 12). FwP: pull up a loop in second ch from hook, and in each remaining ch to end. RetP. <9 (9, 10, 12) sts>
Row 1 FwP: Tfs between first and second vertical bar. *Tfs in between next two vertical bars. Rep from * to last two bars. Do not work in space between last two bars. Work end st. RetP
Row 2 FwP: Skip space between first and second vertical bar. *Tfs in between next two vertical bars. Rep from * to last two bars. Draw up a loop between last two bars. Work end st. RetP
Repeat rows 1 and 2 until row 36 (40, 44, 52).
Finish last row with ss.
Rectangle should measure 11.5 (12.5, 13.5, 15.5)” [29.2 (31.75, 34.3, 39.4) cm] long by 2.75 (2.75, 3, 3.5)” [7 (7, 7.6, 8.9) cm] wide.
With right side facing up, bend the rectangle to form a “u” shape.

Bring the right-side end over the left in such way that the left end is only half covered by the right end.

Fold the left side over at the halfway point,

and then fold the right side over the halfway point.

Whip stitch along the edge capturing all four layers. Sew in the ends and turn right side out so the seam faces the inside (or wrong side).
